Bringing Lunch

There are A LOT of places to eat in the neighborhood where I work. Fortunately, most are sit-down restaurants and as a working parent, lunchtime has to be maximized, so I don't frequent them very often. And for some reason, the Boston area hasn't yet seen the rise of gourmet food trucks that I keep hearing about in other urban centers. So for now, it's bring your own lunch for me.

But who says bringing your lunch has to mean peanut butter and jelly in a paper bag? Below are some photos of my favorite lunch containers and a few comments about how I use them. Sure, an old-school insulated Thermos food jar would also work just fine, but until the foods trucks come rolling into Harvard Square, I like to have something to look forward to as I eat my leftovers each day. Incidentally, none of these containers can be microwaved, so I keep a dinner plate, soup bowl and utensils in my office and wash them each day. No escape from dishes!

Above is an Indian "tiffin", which is made of stainless steel. It contains two levels with a plate in between, and when assembled, has its own handle. Shown is a favorite meal of frozen blueberries and mangoes on the top (they thaw by lunchtime) and a quinoa-black bean-feta-pepita salad on the bottom. The tiffin fits nicely inside my Built lunch bag, with some extra room for an afternoon snack. The little bag is made by me out of PUL (polyurethane laminated) cotton fabric; I call it my "almond bag" and it reminds me to eat healthy nuts each day instead of heading for the vending machine!

This next photo is of a Japanese "bento box". It has an image of a rabbit on it so I call it my "bunny box." The top has a handy removable divided insert for condiments. Since the top has a lid and the bottom doesn't, I usually put grains or pasta in the bottom and the sauce or veggies on the top.

Below is what it looks like assembled. The other one is a "male bento box" whereas the bunny one is a "female" version. Not surprisingly, the male box is about twice as big so the big, strong, hungry man can eat more food! Ha, not in my house! I do sometimes use this one but don't like it as much because it looks so boring. I think these used to be made of lacquered bamboo, whereas now they're just plastic.

Finally, a photo of my latest acquisition: a plastic 4-tier, tiffin-style container from of all places, Target! We haven't given it a name yet, but fell in love with its great colors and large capacity. On Mother's Day we took it for a picnic and it carried enough food for everyone in the family to have lunch! What I also like is how the different levels serve as a reminder to include a range of food groups. Since this was a picnic, I wasn't too concerned with nutrition, but we had one level with veggies and dip, another with fresh fruit salad, another with cheese and crackers, and finally a level for that all-important dessert food group. Each level could probably hold a person's sandwich and veggies or a decent-sized serving of pasta salad if you wanted to divide the food that way. This thing is definitely coming to the beach with us this summer!

On a last note, we are also big fans of the Laptop Lunchbox, a modular plastic lunchbox that has four different sized colorful inserts to help remind us to include a variety of food groups and veggie/fruit colors. Enjoy your lunch today!

Foraging at Home

Each year around this time, I begin to get excited about the first round of harvest. Sure, there was the overwintered harvest, a bit worse for wear, and I've been picking individual radishes, lettuce and chard leaves, flower petals, green onions and herbs throughout the spring. But at the beginning of June when the farmer's markets re-open in New England, it's time to start thinking again about how to manage and make best use of the glut of fresh vegetables. Specifically, the big bunches of greens, and there will be several more posts about that.

But for now, it's time to start making space for the first harvest. Check the pantry and dig out the last few jars of green tomato salsa and chutney to mix with beans and fresh herbs as a salad or to serve warmed over rice. Stir a jar of quince jam and some cinnamon into a container of plain yogurt. Open the freezer and pull out that last bag local corn (remembering what a pain it was to cut it all off the cob last August!), the last container of pesto for a pasta salad, bake the last bag of chopped up fall apples into a pie. Decipher which re-used yogurt containers have mushy vegetables from making vegetable stock all winter long, thaw them out and mix with curried lentils for stuffing handheld veggie pies. Bake any remaining bags of blueberries into muffins.

This activity reminds me that it's been a while since I evaluated our stock of raw nuts and seeds, cold-pressed oils, whole-grains and whole grain flours. Many of these are kept in the fridge or freezer, but those stored at room temperature need to be checked for rancidity (easy to smell/taste it!) and if they are still okay, use them up as soon as possible.

It may not be quite as exotic as combing the deep forest for rare mushrooms, but foraging at home has its own rewards. It's a great way to save money by not wasting food, it facilitates buying local on as big a scale as your household can manage, and you may receive some culinary inspiration along the way. That said, I'm off to put together a black bean-corn-mango chutney-cilantro salad!

Save the Broccoli Stalks! Soup + Mahhvelous Mac & Cheese

It’s true that not everyone (cough, President-George-H.W.-Bush, cough) loves broccoli. Most of us are, however, willing to dip a few little trees in ranch dressing or eat the florets steamed or sautéed with butter and garlic or lemon. At least then we can say we ate our vegetables.

Professional chefs and serious gardeners might remind those of us who usually purchase pre-cut, bagged produce that broccoli florets don’t actually grow straight out of the ground. No, they actually occur in clusters along a thick stalk that can grow to be three feet tall. And go figure, broccoli has lots of leaves, too!
In the event that one does buy a bunch of broccoli from the store and prepares it in the usual sort of way, a question arises: What to do with all those stalks? A) Garbage disposal. Be careful to cut them up first. B) Trash can. Don’t risk clogging the disposal. C) Eat them, silly! The stalk is just as tasty and good for you as its more popular younger sister, the floret.

I first considered broccoli stalks when I noticed that they were an ingredient in a bagged coleslaw product from the refrigerated shelf in the produce section. Just like florets, the shredded stalks were delicious with ranch dressing. Then one day I wanted to make broccoli cheese soup, but all I had were the thick stalks hanging out in the back of the veggie drawer in the fridge. So I thought, why not? A few leaves got thrown into the pot along with the stalks. And guess what - the soup was delicious! I’m now fairly certain that both canned broccoli soup and broccoli soup served in restaurants are, in all likelihood, made from stalks, too. Try this recipe and see if you don’t find yourself saving the stalks from the disposal from now on.

I'll start off by explaining how to tackle the stalks, then list the ingredients and steps below. Note: an immersion blender is really what makes this recipe so fast and easy to make, but if you don't have one a blender or food processor will also work.

Broccoli prep: Wash and trim off the lower 1-2 inches from the broccoli stalks. (As you make the cut, you can feel it if you're still in tough stalk territory.) Using a sharp vegetable peeler or knife, cut off the thick, somewhat waxy exterior of the stalk. Make sure to get all of it - the outer part does not cook well and if you skimp here, as I occasionally do for speed, you'll pay for it later with little strings that you'll be picking out of your teeth as you eat the soup! Chop the stalks into 1/2 inch pieces. This whole part can be done ahead of time and either refrigerate or freeze the chopped stalks.

Broccoli Stalk Soup
Serves 4-6
Difficulty Level: Easy
45 minutes, including broccoli stalk prep
Freezes well
Ingredients:
3 or more stalks of broccoli, trimmed, peeled and diced (If you have twice that amount, use them all, but you may need to adjust the liquid and seasoning a bit near the end.)
4 smallish potatoes (organic)
1 medium onion
1 T butter
1 T olive oil
1 T flour
2 cups milk (unsweetened soymilk can be a substitute)
1-1/2 cups shredded sharp cheddar cheese
salt & pepper to taste

  1. Prep broccoli stalks.

  2. Scrub the potatoes, skins on, and microwave for 3 minutes on each side or until cooked through. Once they are cool enough to handle, cut into largish pieces and set aside.

  3. Chop the onion.

  4. Heat butter and olive oil in a large pot on medium heat. Add the onion and saute for a few minutes or until translucent.

  5. Sprinkle the flour into the pot and cook for 1 minute, stirring.

  6. Whisk in 2 cups of water and bring to a boil.

  7. Add the milk and return to almost boiling.

  8. Add the broccoli. Simmer vegetables in the liquid with lid on, for about 10 minutes or until completely tender. Test the broccoli to be sure!
  9. Stir in the potatoes and cheese. Add salt and pepper to taste.

  10. Puree with a handheld immersion blender (or pour into the food processor, then return to the pot - much messier to be sure).

  11. Wait for the applause!

While I'm feeling cheesy, here's one more recipe. As someone who was formerly addicted to Kraft macaroni and cheese (seriously, I would stand at the stove and eat the entire contents of the pot before I could get it to the table!), I can truthfully say that this recipe is good enough to pass muster. Kudos to the vegetarian goddess Nava Atlas for this recipe.

Mahhhvelous Mac & Cheese
Serves 1-4
Difficulty Level: Super Easy
15 minutes or less

12 oz package of elbow pasta
1 package silken tofu (the kind that doesn't need refrigeration)
2 T butter (oh yeah, the real stuff)
1-1/2 cups cheddar cheese
salt to taste

  1. Cook pasta according to package directions.

  2. Use a miniprep blender, immersion blender, or electric beater to blend tofu until smooth.

  3. Transfer tofu to a medium pot, then add cheese and butter.Heat on medium heat until cheese melts, stirring frequently.

  4. Stir pasta into cheese mixture and get comfortable standing in front of the stove as you eat it all from the pot.
Leftovers tip: To reheat, add a little milk first.

Mending Socks

This post is in honor of a wonderful man I'll call Grandpa L. Though it's been over a decade since he passed out of this world, I still think about Grandpa L. occasionally and am grateful for the many life lessons I learned from him. Like if you feel like having donuts or pie for dinner once in a while, don't worry about whether it's bad for you, just enjoy it! Another lesson I learned is that you can mend your socks. This may be a big "duh" to most people, but I actually had no idea this was possible until one day while I was visiting, Grandpa L noticed a hole in one of mine. The next morning I found the sock outside the bedroom door, with no hole in sight.

Grandpa L was skilled in the ancient art of darning, which I confess that to this day, I have never bothered to learn, though the results are quite amazing. With my eldest daughter's affinity for all things commercial, quality clothing is not something we've been able to invest in and I don't consider it a good use of my time to spend an hour darning a sock from Target's dollar aisle. However, that sock is actually worth much more than $1 to her, and in truth, to me as well - by the time we calculate replacement cost (i.e. the inevitable $200 I will spend at Target if I go to replace said sock) and the ecological cost (heavily sprayed cotton to produce the cheap yarn, toxic dyes, the container trip from China, etc.)

These $1 socks would have about a 3 month lifespan in our household if we just tossed them once the holes appeared.

So in short, since acquiring children (and a sewing machine) I have felt it worthwhile to mend many a sock, albeit in my own shortcut, non-skilled way. This easy technique works well for tights and the reinforced toes of nylon stockings as well.

You are going to need a sewing machine, and you are going to need to know how to thread it. Many of us are not quite there yet, and that's fine. When you do get there, one day you'll wake up to a holey sock and perhaps you'll remember that it can be fixed without too much trouble. It won't matter that I'll have long since stopped blogging and retired to my farm out in the country, because you won't even need my instructions. It's that easy.

Get the sewing machine ready with a coordinating thread top and bottom. Take the sock and turn it inside out. Wherever the hole is (usually the toes, but occasionally the heel is the culprit), pinch the sock together with both thumbs and forefingers so that the hole is effectively "closed" between your fingers. This is the area you are going to sew. Insert a straightpin parallel to where the stitch will be.
Turn your sewing machine's stitch to zig-zag and reduce the stitch length setting so that the stitches will be closer together (double-check your manual if you're unsure about where the stitch length dial resides). Test your stitch on another piece of fabric before sewing your sock.
Once you've got your sock set up on the machine (you may need to move the pin away from the sewing site a bit, as I've done), you'll want to sew the length of the hole, plus a little before and after it. Make sure to backstitch, as these socks do take a lot of wear! When you're finished, you'll have a stitch that looks something like this:
A simple matter of trimming the threads, resetting the dials and putting away your machine (or moving on to the next holey sock in the pile), and you've got a very rewarding outcome for your (fairly minimal) efforts. Just think how happy your little (or big) one will be to discover that Hello Kitty or Bob the Builder is back in the sock rotation! Great job. Now go get yourself a donut. :-)

Great Greens! Part III

The harvest of early spring greens from the garden continues. I had always heard that you can eat dandelion greens, so I picked some of the rocket-shaped weeds growing near the pathway inside the community garden. I felt more comfortable eating these than the ones growing along the sidewalk in our neighborhood, watered by who knows how many dogs each day. Also, my plot had some overwintered beet and turnip plants that were clearly not developing harvestable roots, so to make space for new plantings I picked a bunch with the idea of eating their tender leaves rather than give up on them entirely. Now, how to eat them?

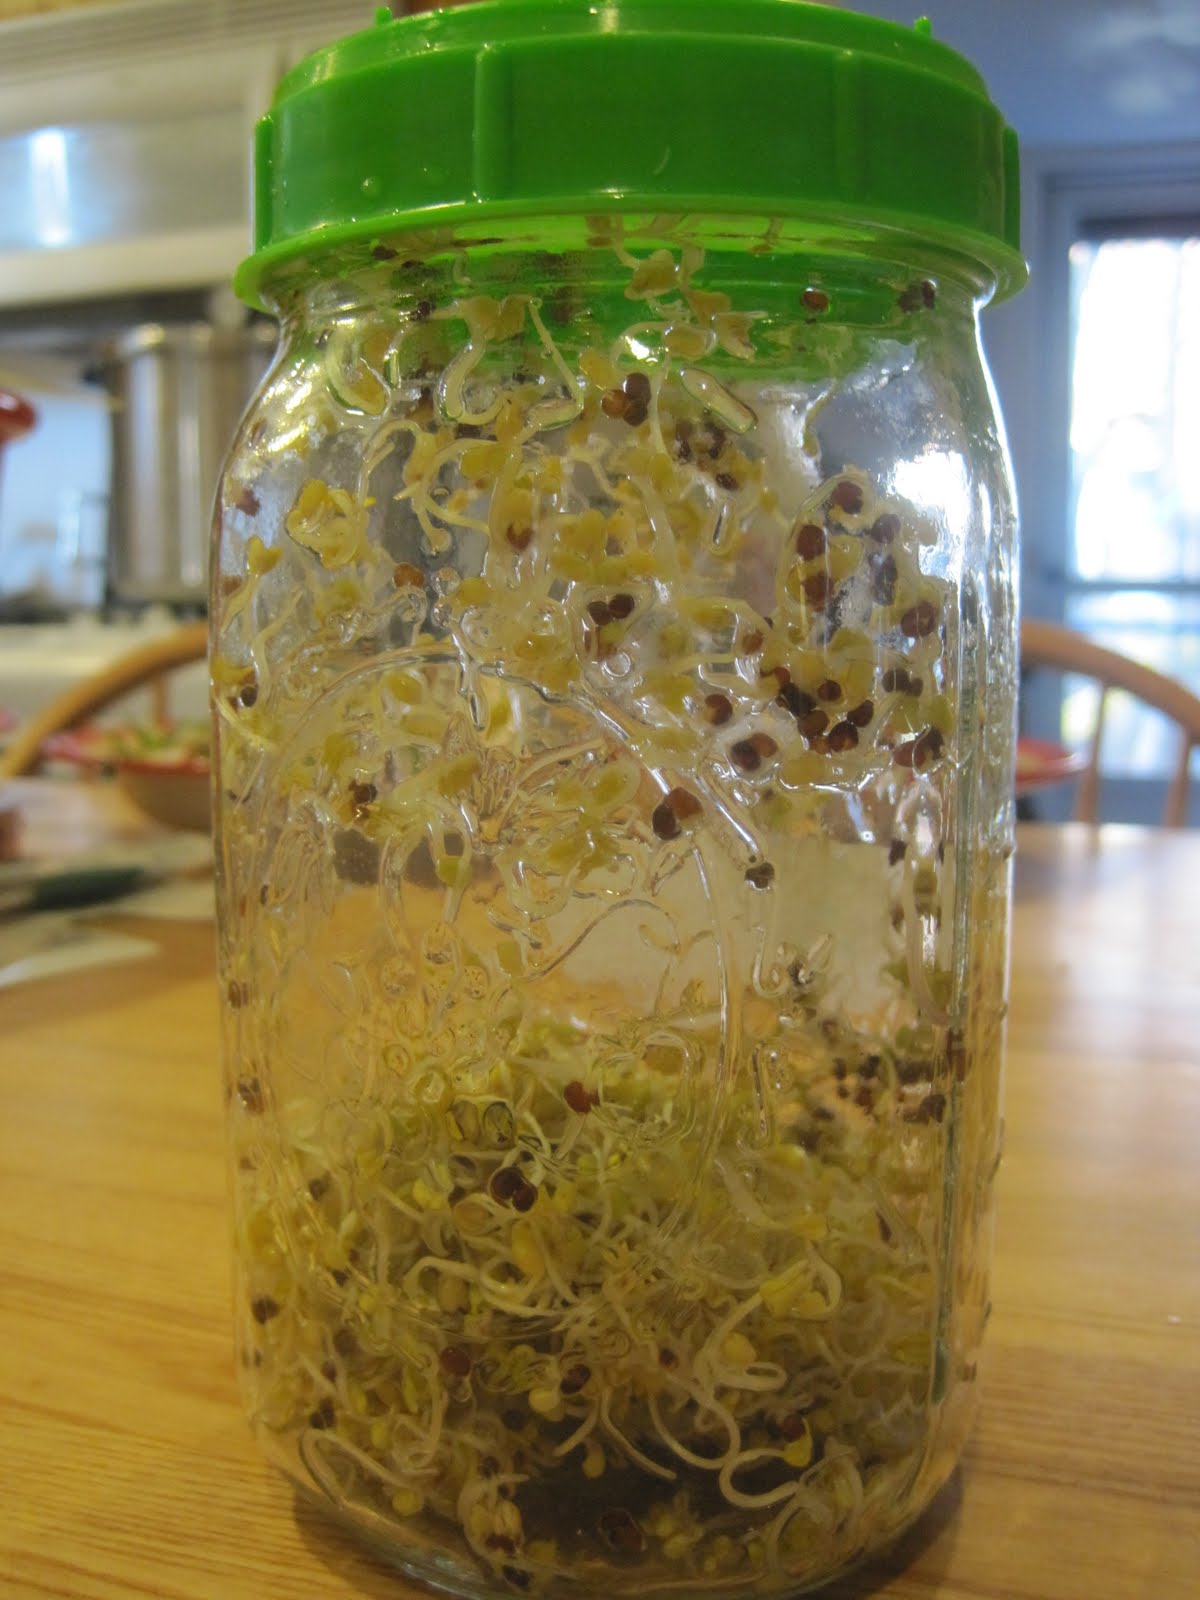
As I was pondering whether to steam, saute, or boil, another project was ready to harvest at this point: broccoli sprouts. These had been growing in my kitchen for 5 days and were now 1/2 inch long. Just needed a few hours of indirect sunlight on the counter to "green up" and we were in business. Salad seemed the way to go from here.
A couple green onions and parsley sprigs from the garden, a few radishes from the store, as the garden ones weren't quite ready, a handful of lightly toasted sunflower seeds, and a chunk of feta cheese, and it had all the makings of a potentially lovely salad.
To offset what I feared would be the bitter taste of the greens, I quickly made a strawberry vinaigrette. The strawberries were frozen, as our plants have yet to even flower, but when a heaping cup of them was thawed, then blended with 1/4 cup each of red wine vinegar, olive oil and safflower oil, plus pinches of sugar, salt and white pepper, they made a dressing to rival even my daughter's favorite raspberry dressing from Trader Joe's.

A burning question remained, however: what were the leaves going to taste like??? As it turned out, (in my most ridiculous British accent), they wahn't bahd, ahctually! Bitterness wasn't really an issue, thanks to the semi-sweet dressing and the salty cheese, but texturewise it was nothing like a Bibb or a romaine. More chewy, thanks to the thicker stems, but when I cut them up with my handy kitchen scissors, they were easier to eat. We all enjoyed the salad, and felt good knowing that our veins were now coursing with vitamin A and lots of other wonderful vitamins and minerals.